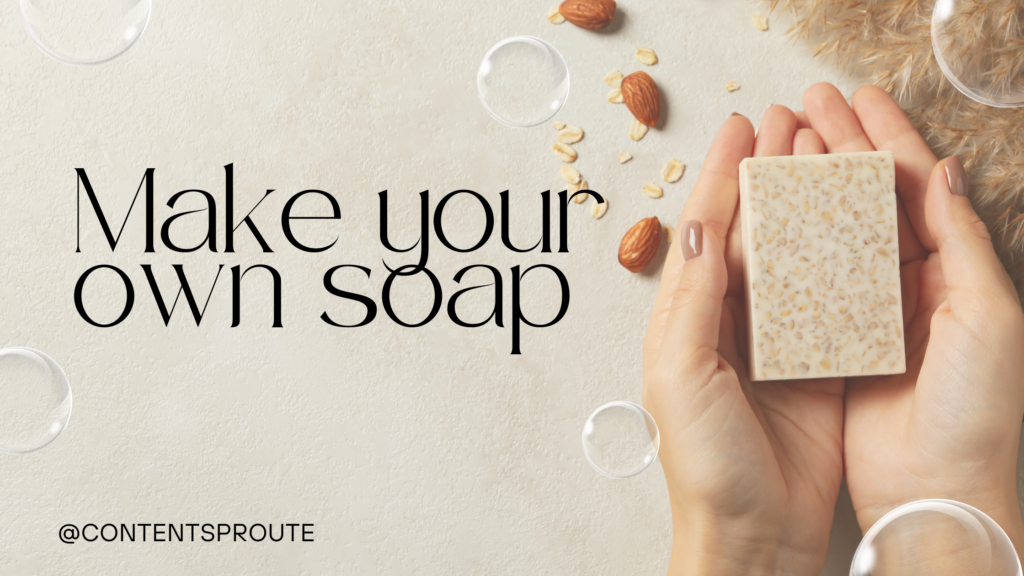
Soap making is a wonderful and rewarding craft that mixes science with creativity. Even if you are used to buying soaps, making your own handmade soap allows for endless possibilities in terms of creativity, customization and even self-expression. Soap making can be done for your own personal use, as gifts, or to start a small business.Be in control of the ingredients, fragrances, colors and designs in each bar of soap you make.
In this blog, we are going to look at soap making in the history, methods and finally on how you can make your beautiful soaps at home.
The History of Soap Making
Soap has been made for thousands of years. Soap is the oldest cleaning substance in recorded history, with a tradition dating back to ancient Babylon around 2800 B.C when it was made of water, alkali and cassia oil. Egyptians had also created a soap-like substance they used for cleaning, bathing, and curing skin diseases. Over in ancient Rome, only the rich were lathering up and even then, it was animal fat mixed with wood ash, a pricey luxury.
In Europe, soap during the Middle Ages was produced through a small local workshops. Soap making as a craft persisted alongside increasingly industrial ways of producing soap in the 19th century, thanks to those who recognized its natural properties. Handmade soap is having a bit of resurgence today as people look for more natural alternatives to store bought soaps chock-full of chemicals and synthetic ingredients.
The Art and Science of Saponification
Making soap is a mix of art and science Soap is fundamentally formed in a chemical reaction known as saponification wherein oils or fats are combined with an alkali, such as lye to create soap and glycerine. Soap making is a science; without a good recipe soap won’t cleanse, but it is also an art: the creativity possible in design and use of fragrance, color, and form is unlimited.
Types of Soap Making Methods
There are various techniques to making soap, and each method has its benefits. So, here are the most used methods:
– Cold Process Soap Making
Description: Cold process soap making is the traditional method and preferred by many soapers because they can use high-quality ingredients and control all aspects of production from start to finish. It involves the combination of oils or fats with lye, and saponification taking place for a few weeks.
Why Choose This Method? : There are many options for customizing ingredients, scents, and designs in cold process soap making. A good choice for those looking to make beautiful, craft soaps with fresh natural ingredients.
Base ingredients: Oil (Olive, Coconut or Almond), Lye, Distilled water, Essential oils and external colouring agents (eg. clays/herbs).
– Hot Process Soap Making
Description: Hot process soap is very much like cold both hot and cold processes starts with creating a lye solution with water or other liquid but during the soaponification process the hot prosses is heated. This makes the reaction go faster and allows the soap to be ready for use much sooner.
Why Choose This Method?: If you are anxious to get your soap into use or into the market, then this is a good alternative. It has a raw, textured look that also looks beautiful to some.
Main Ingredients: Like cold procedure but made in a crockpot or on the stovetop.
– Melt and Pour Soap Making
Description: A beginner-friendly approach that requires melting a pre-made soap base (usually glycerin based) and incorporating colors, scents, and other additives prior to pouring the liquid into molds.
Why Choose This Method?: Melt and pour is an easy, no-lye method which makes it suitable for beginners or impatient sorts. It is ready to use so you can simply start off having some fun with your soap crafting.
Basic Ingredients: Soap Base (melt and pour), Fragrance Oils, Colourants, Moulds
– Rebatching
Description: A process in which soap that has already been made is grated, melted, and re-molded. In most cases this is to redress a failed batch or because it did not include certain ingredients which should have been included in the first place.
Why Choose This Method? Rebatching: This is the best method to save soap that did not work out as expected or to be able to incorporate delicate ingredients such as certain essences or herbs which would become unusable with the high temperatures.
Ingredients: Shavings of soap, water and other additives as needed.
Essential Soap Making Ingredients
Although soap recipes differ in terms of the ingredient mix, there are some that you would find in almost every handmade.
– Oils and Butters:
The oils and butters you choose will determine how hard or soft your finished bar is, the lather it produces, and how moisturizing it is. Common oils include:
- Olive Oil: Hydrating and soft.
- Coconut Oil: Hardness and lots of lather
- Palm Oil: Used for its moisturizing properties.
- Shea Butter: Pure and indulgent for your skin.
- Cocoa Butter: firmness and adds creaminess.
– Lye (Sodium Hydroxide)
Lye is the main ingredient required for soap making. When with blended oils, it causes the chemical that creates soap. Lye must be handled with care, but it is completely neutralized during saponification.
– Fragrance Oils or Essential Oils
Adding a delicious scent is the cherry on top of your luxurious soap. Lavender, peppermint, citrus (common choices), and fragrance oils (fragrance oils may include more complex/synthetic scents).
– Natural Colorants
clays, herbs, or even spices like turmeric can be used to color your soap. Mica is used in powders, as are more liquid style soap dyes.
– Exfoliants and Additives
Soap can be changed into your own bodysclrub with oatmeal, coffee grounds or sea salt. You may even put in components for skin benefits such as aloe vera, honey or activated charcoal.
Step-by-Step Guide to Cold Process Soap Making
This will be the first of this guide about our method using cold process because it is one of the most common ways to make passionate with soap.
Step 1: Gather Your Materials
Safety note: You should wear gloves, safety goggles and long sleeves while working with lye.
Get out a kitchen scale and measure your oils, lye, water (and any extras) by weight.
Step 2: Prepare the Lye Solution
While stirring, slowly and carefully pour the lye into the water (never pour water onto the lye!) The water will steam and give off fumes, so do this in a good, ventilated space.
Leave the lye solution to cool down between 100-120°F.
Step 3: Melt the Oils
Pour oils and butters into a pot and heat them till completely melted, then cool until they are at the same temperature range with your solution of lye.
Step 4: Combine Oils and Lye
When checking the temperature if the lye solution and oils are at pretty much the same temp, slowly pour your lye into your oils while mixing continuously.
Combine with stick blender til trace. (Trace is where the soap has thickened enough that when you drizzle some from the blender over itself it leaves a light trail.)
Step 5: Mix in the Scent, Color and Additives
When you hit trace add in your fragrance of choice, colorants, and disclose any other additives (like exfoliates, botanicals)
Step 6: Pour into Molds
Pour the Soap Mixture into a Silicone Mold or Lined Soap mold Knock gently the mold with your hand to remove air bubbles.
Step 7: Let It Cure
Place a towel over the molds and set aside to cure for 24-48 hours.
When soap has been removed from the mold then cut into bars and cure for 4-6 weeks in a cool, dry place. This enables it to solidify the soap and finish the saponification.
Innovative Soap Making Tips
This list of soap-making techniques means that you can really let loose and push the boundaries in terms of creativity in your bars.
– Swirling
Mix in multi-colored soap for elaborate swirling styles. Put several colors into the mold and then run a dowel or spoon through to make them swirl.
– Layering
Make layered soap bars by pouring soap one layer at a time and allowing each layer to partially harden before adding the next.
– Embedded Objects
Add a novelty to your soap by embedding various objects in it, such as small toys, dried flowers or even decorative pieces of old soaps.
– Marbling
For a more grown-up marble-effect soap, opt for contrasting colors and pour them in a marbling pattern.
Tips for Soap Making Success
- Accurate Measurement: Making soap is a bit of a science so it’s important to measure carefully. Weigh all your ingredients using a scale.
- Prepare carefully: Lye is caustic and needs to be handled properly. Ensure you are wearing proper safety gear and work in a well-ventilated space.
- Allow time to cure: Yes, the cold process soap does require a cure time of 4-6 weeks so if you plan on creating it for an event please make sure and give yourself plenty of time!
- Play around with Additives: Do not hesitate to test different substances, scents


